This story was shared by Eva Amurri and originally appeared on Happily Eva After.

SUPPLIES…
- Nail Polish Remover
- Cotton Balls
- Nail File
- Acetone-Based Lacquer Remover (only if you have gel on your nails)
- Aluminum Foil (only if you have gel on your nails)
- Nail Clipper
- Nail Buffer
- Cuticle Pusher
- Cuticle Remover
- Cuticle Oil
- Hand Exfoliator
- Hand Cream
- Base Coat
- Nail Polish
- Top Coat
STEP 1: CLEAN YOUR NAILS
If you have normal nail polish on your nails, take some nail polish remover and some cotton balls and gently rub the polish off your nails.
Even if you don’t have polish on your nails currently, it’s always a good idea to run a cotton ball with nail polish remover over all your nails just to remove any oils or dirt.
If you have gel nail polish on your nails, you’ll need a nail file, a good acetone-based lacquer remover, cotton balls, and some aluminum foil. First, you have to buff your nails with a nail file, removing the shiny coating from the gel polish. Next, cut your aluminum foil into ten 4″ x 4″ pieces. Pour some of the acetone into a small bowl and then place ten cotton balls in the acetone until they are completely soaked. Take one cotton ball at a time and place one over one of your nails. Then take one of the tinfoil pieces you cut earlier and place it over the soaked cotton ball and wrap it around your entire finger. Repeat this for all your other nails and leave them on for 15 minutes.
Once the 15 minutes are up, remove the tin foil and the cotton balls, and, with a cuticle pusher, gently scrape the gel off the nail.
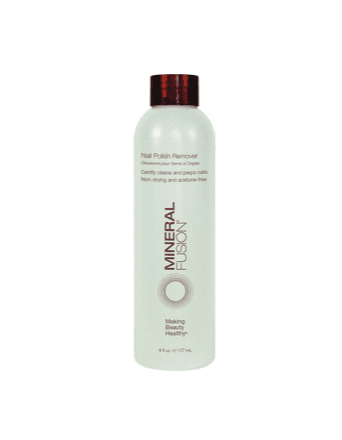
Mineral Fusion Nail Polish Remover
This is a gentle, acetone-free nail polish remover that works really well to remove even dark polish.
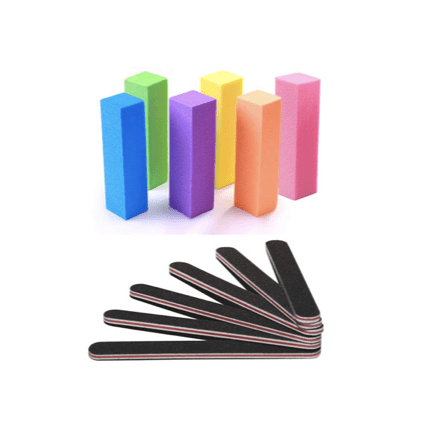
TsMADDTs Nail Files and Buffers
It’s best to have a few nail files and buffers on hand so that once they start to wear down you have more.

STEP 2: TRIM, FILE, BUFF
Take your nail clipper and trim your nails to your desired length.
Next, take your nail file and gently file your nails, going only in one direction, until you achieve your desired shape.
Then, take your nail buffer and buff your nail all over — the top, the sides — everywhere. This removes your nails’ natural oils, which can ruin your manicure once you start to apply polish.

STEP 3: PUSH BACK + TRIM CUTICLES
Prep your cuticles with a good cuticle remover, which will help exfoliate your nail bed.
Then, take your cuticle pusher and push your nail beds back gently. Trim your cuticles (if needed) with a cuticle trimmer.
Deborah Lippmann Cuticle Lab Kit
This kit will save your cuticles! It includes Cuticle Oil, Cuticle Remover, Cuticle Cream, and a Cuticle Pusher all in one handy set.
STEP 4: EXFOLIATE YOUR HANDS
I love a good hand exfoliator, and when I’m giving myself a manicure it’s an absolute must.
Rub a scrub all over your hands, wrists, and forearms, and then wash it off well. Pat your hands to dry.
STEP 5: MOISTURIZE
Apply a hydrating hand cream to your hands, and take special care around your cuticles.
Then, and this is an important step, wipe your nails down with some nail polish remover so there’s no residue before you start applying polish.
GROWN ALCHEMIST Hand Cream – Vanilla & Orange Peel
This hand cream is heavenly. It softens and hydrates hands but doesn’t leave them greasy.
STEP 7: APPLY YOUR POLISH
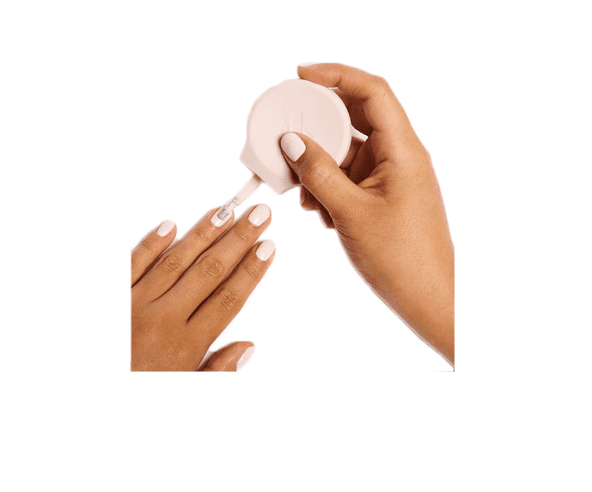
Apply a thin coat of polish to your nails, and then let them dry for two minutes. Something that can make painting your nails easier is a polish handle.
After the first coat of polish has sat undisturbed for two minutes, apply a second coat.

STEP 8: APPLY YOUR TOPCOAT
Topcoat is what keeps your manicure from chipping, and it also gives it that salon-quality look.
Apply your topcoat to your nails two minutes after the second coat. If you’re in a hurry to use your hands, The Wait Is Over Quick-Dry Drops from Deborah Lippmann will dry your polish in 60 seconds! Brilliant!
Deborah Lippmann Addicted to Speed Quick-Drying Nail Top Coat
This is a high shine topcoat that dries in a flash!
Deborah Lippmann The Wait is Over Quick-Dry Drop
These are essential if you’re a parent and you can’t wait around for your nail to dry!

